- Home ›
- Android入門 ›
- CheckBoxクラス ›
- HERE
表示文字列の設定
広告
チェックボックスに表示される文字列を設定します。「Checkbox」クラスの親クラスである「TextView」クラスで用意されている「setText」メソッドを使います。
setText
public final void setText(CharSequence text)
Sets the text that this TextView is to display (see setText(CharSequence))

Related XML Attributes:
  android:text

Parameters:
  text  表示文字列
1番目の引数には表示する文字列を指定します。
具体的には次のように記述します。
@Override protected void onCreate(Bundle icicle) {
    super.onCreate(icicle);

    CheckBox checkbox = new CheckBox(this);
    checkbox.setText("checkbox");
    setContentView(checkbox);
}
サンプルプログラム
それでは実際に試してみます。プロジェクトを作成しソースコードを次のように変更しました。
package jp.javadrive.android;

import android.app.Activity;
import android.os.Bundle;
import android.widget.LinearLayout;
import android.view.ViewGroup;
import android.widget.TextView;
import android.widget.CheckBox;

public class Test02_01 extends Activity {
    private final int FP = ViewGroup.LayoutParams.FILL_PARENT;
    private final int WC = ViewGroup.LayoutParams.WRAP_CONTENT;

    @Override protected void onCreate(Bundle icicle) {
        super.onCreate(icicle);

        LinearLayout linearLayout = new LinearLayout(this);
        linearLayout.setOrientation(LinearLayout.VERTICAL);
        setContentView(linearLayout);

        TextView text = new TextView(this);
        text.setText("What would you like to have?");
        linearLayout.addView(text, createParam(WC, WC));

        CheckBox checkbox1 = new CheckBox(this);
        checkbox1.setText("Hamburger");
        linearLayout.addView(checkbox1, createParam(WC, WC));

        CheckBox checkbox2 = new CheckBox(this);
        checkbox2.setText("Coffee");
        linearLayout.addView(checkbox2, createParam(WC, WC));
    }

    private LinearLayout.LayoutParams createParam(int w, int h){
        return new LinearLayout.LayoutParams(w, h);
    }
}
ビルド後にエミュレーター上で実行します。
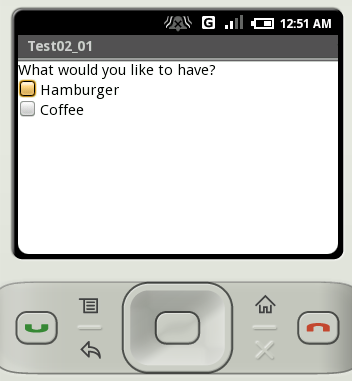
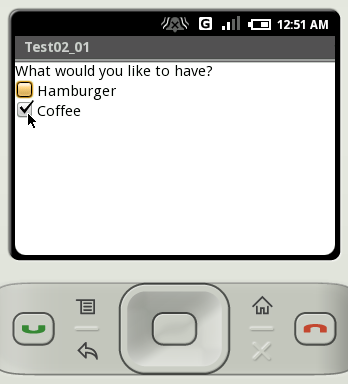
指定した文字列がチェックボックスに表示されました。
( Written by Tatsuo Ikura )
